|           HOME           |           RECIPES           |           TIPS & TRICKS           |          

Showing posts with label southern. Show all posts

Monday, May 12, 2014

Loaded Sweet Potato Fries

I absolutely love sweet potato fries. I don't think there's anything better than a plate of sweet potato fries drizzled with some melted honey butter. Mmmmmm... Now, I know that sweet potatoes are really good for you and they have a lot of great vitamins and minerals. But, as the name suggests, this recipe is not meant to be health food haha! Don't say I didn't warn you! I had some left-over pulled pork so I loaded up my sweet potato fries with some of the left-overs. It was a match made in heaven!


Loaded Sweet Potato Fries
Makes: 4 servings

4 servings of sweet potato fries (that's 336g for those of you who use a food scale)
2 tsp honey
1 cup pulled pork
1/2 cup shredded Monterey jack cheese
  • Cook the sweet potato fries by either baking them or deep frying them. I prefer deep frying; it makes them come out lighter and fluffier.
  • Once the fries are cooked, pile them up on an oven safe plate. Then drizzle them with the honey.
  • If you're using fresh pulled pork, sprinkle it over the fries. If you're using left-overs, reheat it first, then sprinkle it on the fries.
  • Top the pulled pork with the shredded cheese. Place the fries under a broiler on high for about 2 minutes until the cheese is melted.
  • Dive in!

Pulled Pork

If you've never made pulled pork before, it's truly the easiest thing you can possibly make. Just get a medium sized pork shoulder (sometimes it's called a Boston Butt roast), about 6 - 8 lbs, dump a whole bottle of sauce over it, then cook it in a slow cooker on low for eight hours. It's most commonly made with barbecue sauce, but you could use any kind of sauce you want. You could even make your own. For this particular one, I used Lowry's chop and steak marinade. It was really good! Once the pork is cooked, remove the bones with some tongs. Then, using the same tongs, rip apart the roast and kind of stir it at the same time so that it's eventually shredded. You could also do this with a pair of forks if you like it finely shredded (like us!).

Monday, April 28, 2014

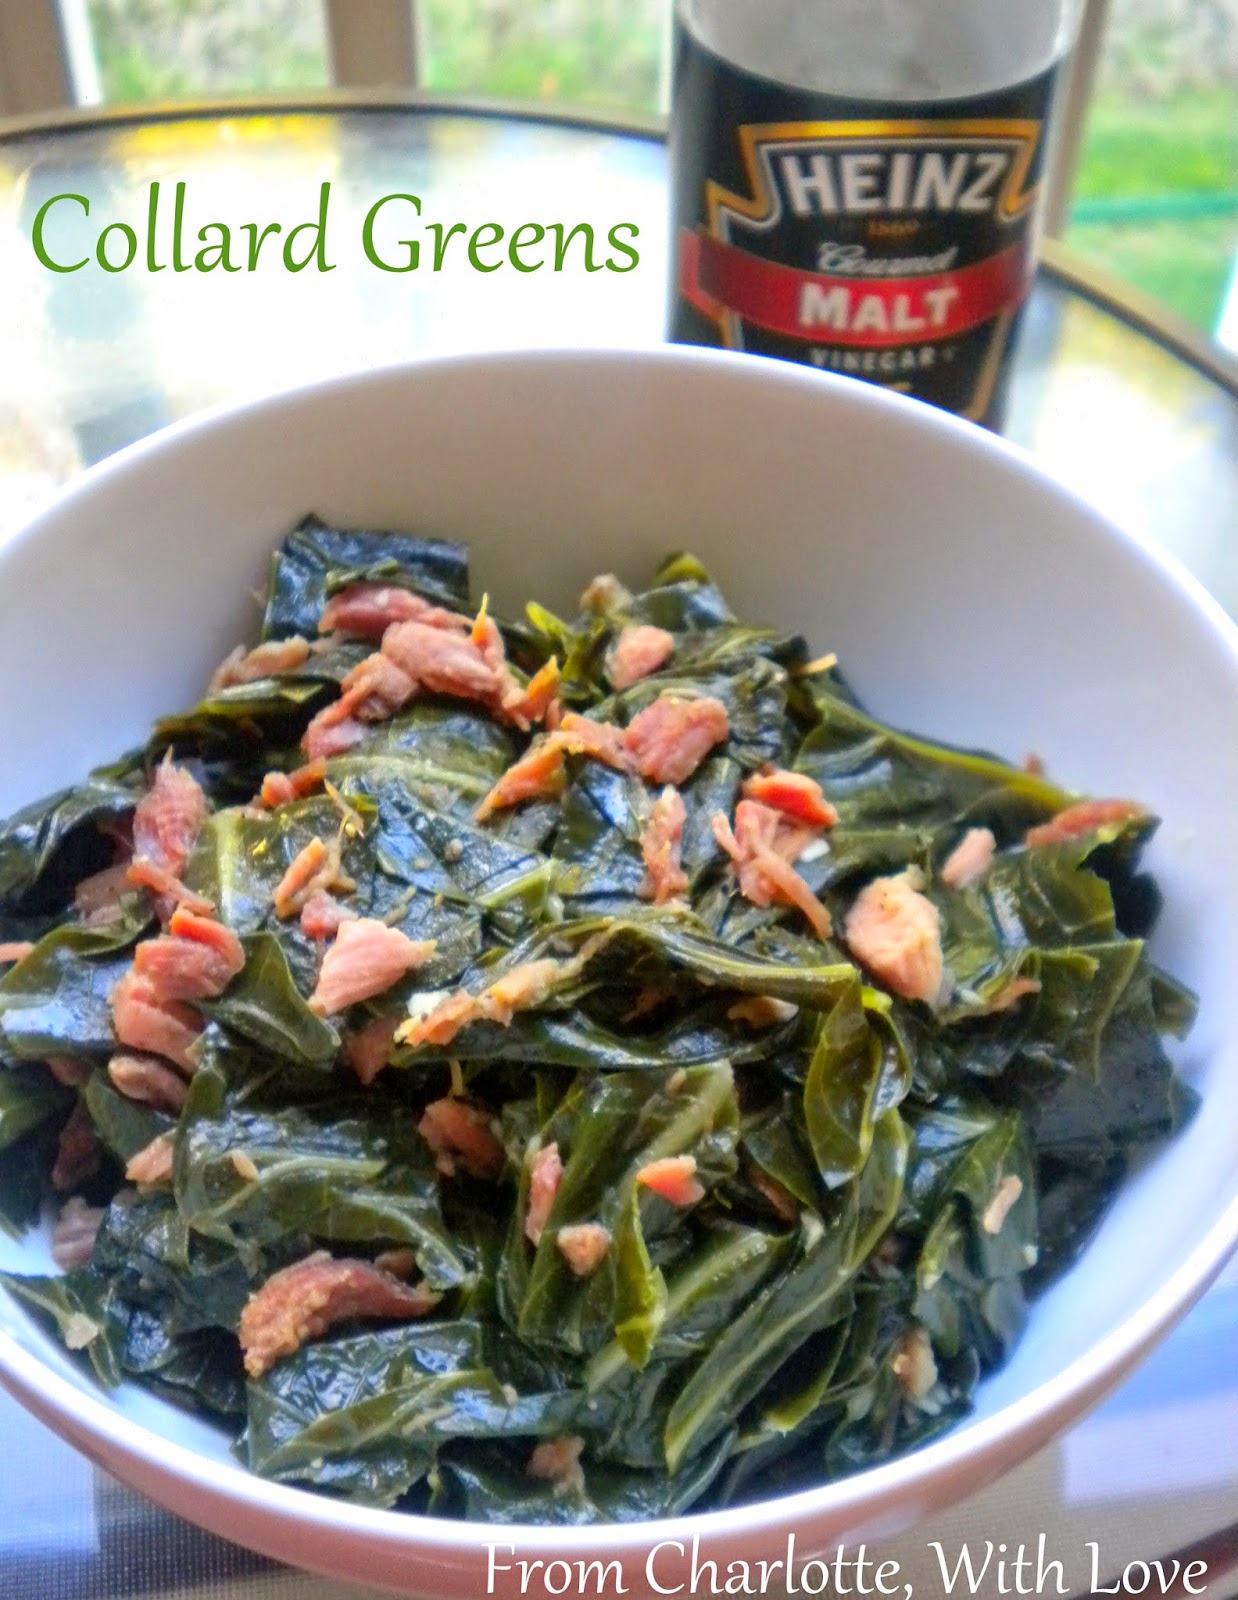
Collard Greens

Hi, Frank!
Collard greens are definitely a Southern staple. I had heard of them before we moved here, but only because we feed them to our iguana, Frank. So it took me a while to think of them as people food and not just iguana food. But I've definitely gotten over that mental block by now and I love collard greens! They are so yummy.


Collard Greens
Makes: 6 servings

2 cups water
1 ham hock (or leftover ham bone from a ham dinner)
1 large head of collard greens
1/2 cup finely chopped ham
1 tbsp olive oil
1 clove garlic, minced
malt vinegar

  • Tear all of the collard leaves apart and thoroughly wash each of them individually. This will take some time and effort but it's necessary because collards tend to have a lot of dirt on them, even when they're pre-washed.
  • Once the collards are clean, cut the stem out of the center of each leaf and then chop it up into large 2" x 2" pieces. Set aside.
  • Place the ham hock or ham bone in the water. Bring to a boil, cover, and reduce to a simmer. Continue simmering for one hour.
  • Remove the ham bone and set the broth aside.
  • In a large soup pot over medium low heat, saute the garlic in the olive oil.
  • Once the garlic is cooked, add the ham broth to the pan along with the chopped ham. Bring the broth to a boil.
  • Add the collard greens in batches until you can get all of it in the pan. Toss the collards with a pair of tongs until all of it is coated with the ham broth.
  • Reduce the heat to medium, cover, and continue to cook for 30 minutes until the collard greens are soft.
  • Serve the collard greens with a splash of malt vinegar.

Surprisingly, these freeze really well. So if you're a family of three (like us!) then you can serve half and freeze the other half for later!

Tuesday, April 15, 2014

Pimento Cheese

I had never heard of pimento cheese until I moved to Charlotte. This is definitely a Southern classic and everyone has their own recipe. The first time I tried it, I was hooked. You can spread it on some toast or crackers or you can dip some veggies in there. You can even use it as a filling in a grilled cheese sandwich!

First a little background. What exactly is a pimento? It's small red pepper and it's the mildest of all chili peppers. I wouldn't classify it as spicy whatsoever. You usually find them in a jar but you can also find them fresh in the produce section. Pimentos are also sometimes called pimientos or cherry peppers. Now, with that out of the way...


Pimento Cheese
Makes: 8 servings

4 oz (1/2 brick) cream cheese, softened
1 clove garlic, finely minced
1/3 cup mayonnaise
2 cups shredded cheddar cheese
4 oz jar pimento peppers, chopped
2 scallions, chopped
1/4 tsp salt
1/4 tsp cracked black pepper
1/2 tsp onion powder

  • In a stand mixer or with an electric hand mixer, whip the cream cheese until it is light and fluffy.
  • Mix in the rest of the ingredients.
  • Refrigerate for at least 8 hours or overnight.

This is traditionally served cold, but you can bake it in the oven at 350° F for about 10 minutes to make a hot dip!

Thursday, March 13, 2014

Southern Fried Pickles

My sister-in-law, Erica is a true southern gal; born and raised in North Carolina. If you live around here, you'll know how rare it is to meet someone who is actually originally from North Carolina. Erica is a self described "terrible cook." However, I beg to differ. She has taught me a lot about southern cooking and tradition. Her Southern Fried Pickles are to die for! She has informed me that all southern women have their own recipe for breading and it's a heavily guarded secret. So consider yourselves lucky that she has decided to share her secret with us!


Southern Fried Pickles
Yield: 4 servings

16 oz jar of dill pickles
1 cup flour
1/3 cup plain bread crumbs
2 tsp seasoned salt
1/2 tsp onion powder
1/2 tsp garlic powder
1 tsp cayenne powder
2 eggs
1/4 cup milk

  • Preheat a deep fryer or heavy bottomed dutch oven filled with 1" of oil to 375° F.
  • Drain the jar of pickles but do not rinse them.
  • Combine the flour, bread crumbs, seasoned salt, onion, garlic, and cayenne. Set aside.
  • Whip together the eggs and milk.
  • Soak the pickles in the egg mixture for 1 minute.
  • Toss the pickles in the flour and bread crumb mixture then shake off any excess.
  • Fry the pickles until golden brown, about 2 - 3 minutes.
  • Serve with ranch - we mixed a little sriracha sauce into our ranch!
Note: The first time I ever made these, I made the grave mistake of getting bread and butter pickles. It was terrible. I don't know how much more I can say about this other than, "just don't." Make sure to get dill pickles.

And in case you didn't think I was completely insane yet... This post has inspired the name of Erica's new puppy - Simon James Alexander Ragsdale Picklesworth III M.D. but you can just call him Professor Pickles for short.